|
We cleaned out most of Tim's tools, swept and vaccumed; blew up one of our full size air mattresses
(next year we will replace with new) and I put up a set of curtains. I was really pleased with the change!
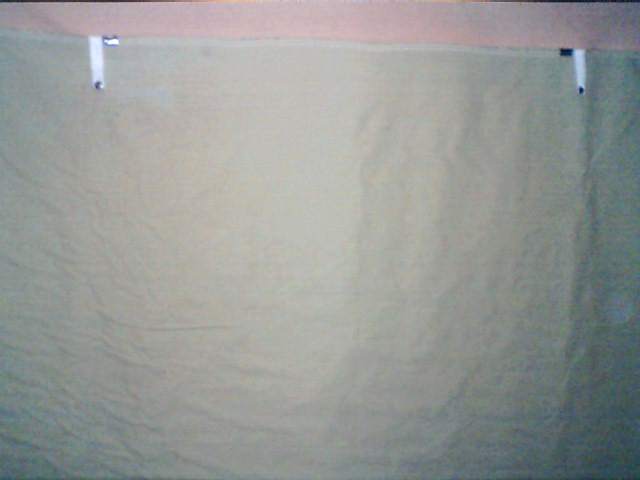
The old side curtains were plain old canvas, which gave the pop-up such
a tent look. (Before)
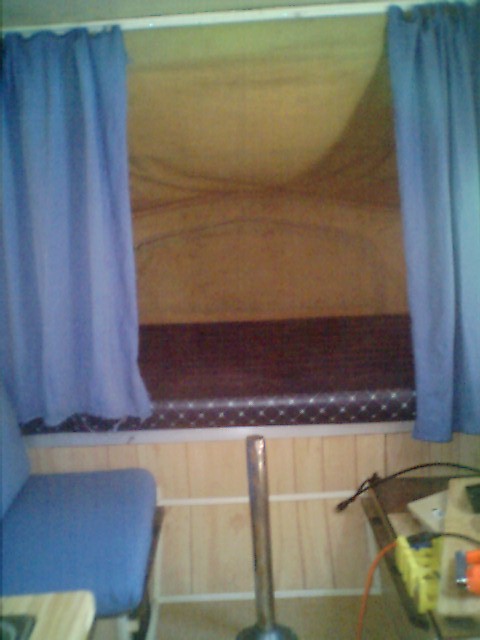
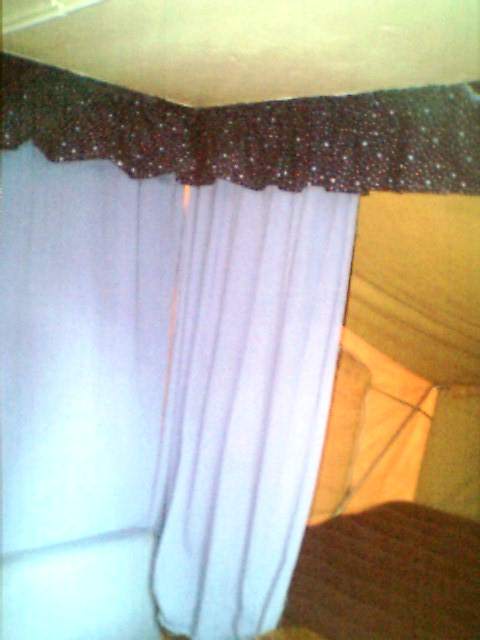
I had plenty of blue fabric left so I measured from top to bottom and made
new curtains. I wasn't sure what to use to attach them in the plastic track but I read a post on pop-up times where
someone used buttons. I found the easiest were 1/4" buttoms, like baby buttons and spaced them about 6" apart on top.
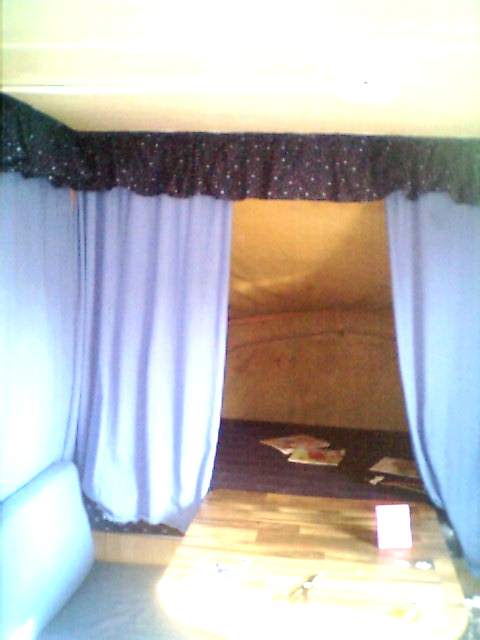
I wanted a co-ordinating valance, so I found a navy blue fabric with white and lighter blue stars. It may not show up
well but we really think it looks great. Again I wasn't sure how to attach it so when Tim went to the dealers, I asked
him to look at a new camper and tell me how it was done. We used sticky velcro on the top of the camper and I used sew
in on the bottom. You just had to alternate, 3 ft. of loopy then 3 ft. smooth etc., so you wouldn't waste it.
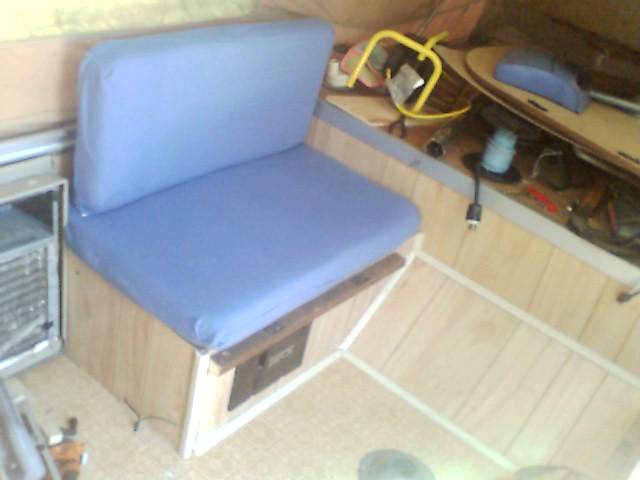
Here's a view of the cabinets with the doors on. Tim has to straighten
out a couple of them and the old knobs really need to be replaced. I thought they would be ok, until I saw them on the
new doors, yuck!

Here's a view of the rear bunk from our first trip out.

|